Graham Cracker Apple Pie Crust
The Graham Cracker Apple Pie Crust is more than just a base for the filling; it’s a crucial component that can transform the entire eating experience. The humble beginnings of the apple pie trace back to centuries ago, but today’s graham cracker crust variant is a modern twist that adds texture and a honeyed depth to the dessert.
A Brief History
The apple pie has evolved significantly over time. Originating in Europe and making its way to America, the pie has undergone various iterations. The introduction of the graham cracker crust is a relatively new, yet welcome addition to the pie-making tradition.
The Unique Twist of Graham Cracker Crusts
Graham cracker crusts offer a unique twist to the traditional apple pie. Their convenience, combined with their rich, sweet flavor, sets them apart. They provide a crunchy contrast to the soft apple filling, creating a harmonious balance of textures.
This article will guide you through the process of creating a Graham Cracker Apple Pie Crust, from selecting the right ingredients to the final delicious slice. Whether you’re a seasoned baker or trying your hand at pie-making for the first time, this guide will help you create a dessert that’s sure to impress.
Ingredients and Preparations of Graham Cracker Apple Pie

Embarking on the delightful journey of making a Graham Cracker Apple Pie Crust, we first gather the essential ingredients and prepare them with care. Let’s take a detailed look at each step.
Ingredients for Graham Cracker Crust
For a flawless graham cracker crust, you’ll need:
- Graham Crackers: The cornerstone of our crust. Opt for honey graham crackers for a classic flavor, or cinnamon ones to add a spice twist.
- Butter: Choose unsalted butter, which acts as the perfect binder and imparts a rich flavor.
- Sugar: A sprinkle of granulated sugar sweetens the crust just right.
Preparing the Apples
Carefully selecting and preparing apples is crucial for a sumptuous filling:
- Types of Apples: A combination of tart and sweet apples, like Granny Smith and Honeycrisp, creates a balanced flavor. Additionally, incorporating different textures enhances the overall experience.
- Peeling: It’s best to peel the apples to ensure a uniformly smooth filling, thus providing a pleasant contrast to the crunchy crust.
Assembling Ingredients
Now, let’s assemble the pie:
- Crush the Graham Crackers: Begin by finely crushing the graham crackers. You can use either a food processor or a rolling pin for this task.
- Mix the Crust Ingredients: In a bowl, blend the graham cracker crumbs with melted butter and sugar. Stir until the mixture resembles damp sand.
- Form the Crust: Transfer this mixture to your pie dish. Press it firmly along the bottom and up the sides to create a uniform layer. A handy tip: Use the bottom of a measuring cup to achieve a smooth surface.
- Bake the Crust: Pre-baking the crust for a few minutes sets it, which is essential to prevent sogginess later on.
- Prepare the Apple Filling: While the crust cools, toss your peeled, sliced apples with sugar, cinnamon, and a little flour. This mixture thickens the filling, ensuring it’s not too runny.
- Fill the Pie: Spoon the apple mixture into the cooled crust, spreading it evenly.
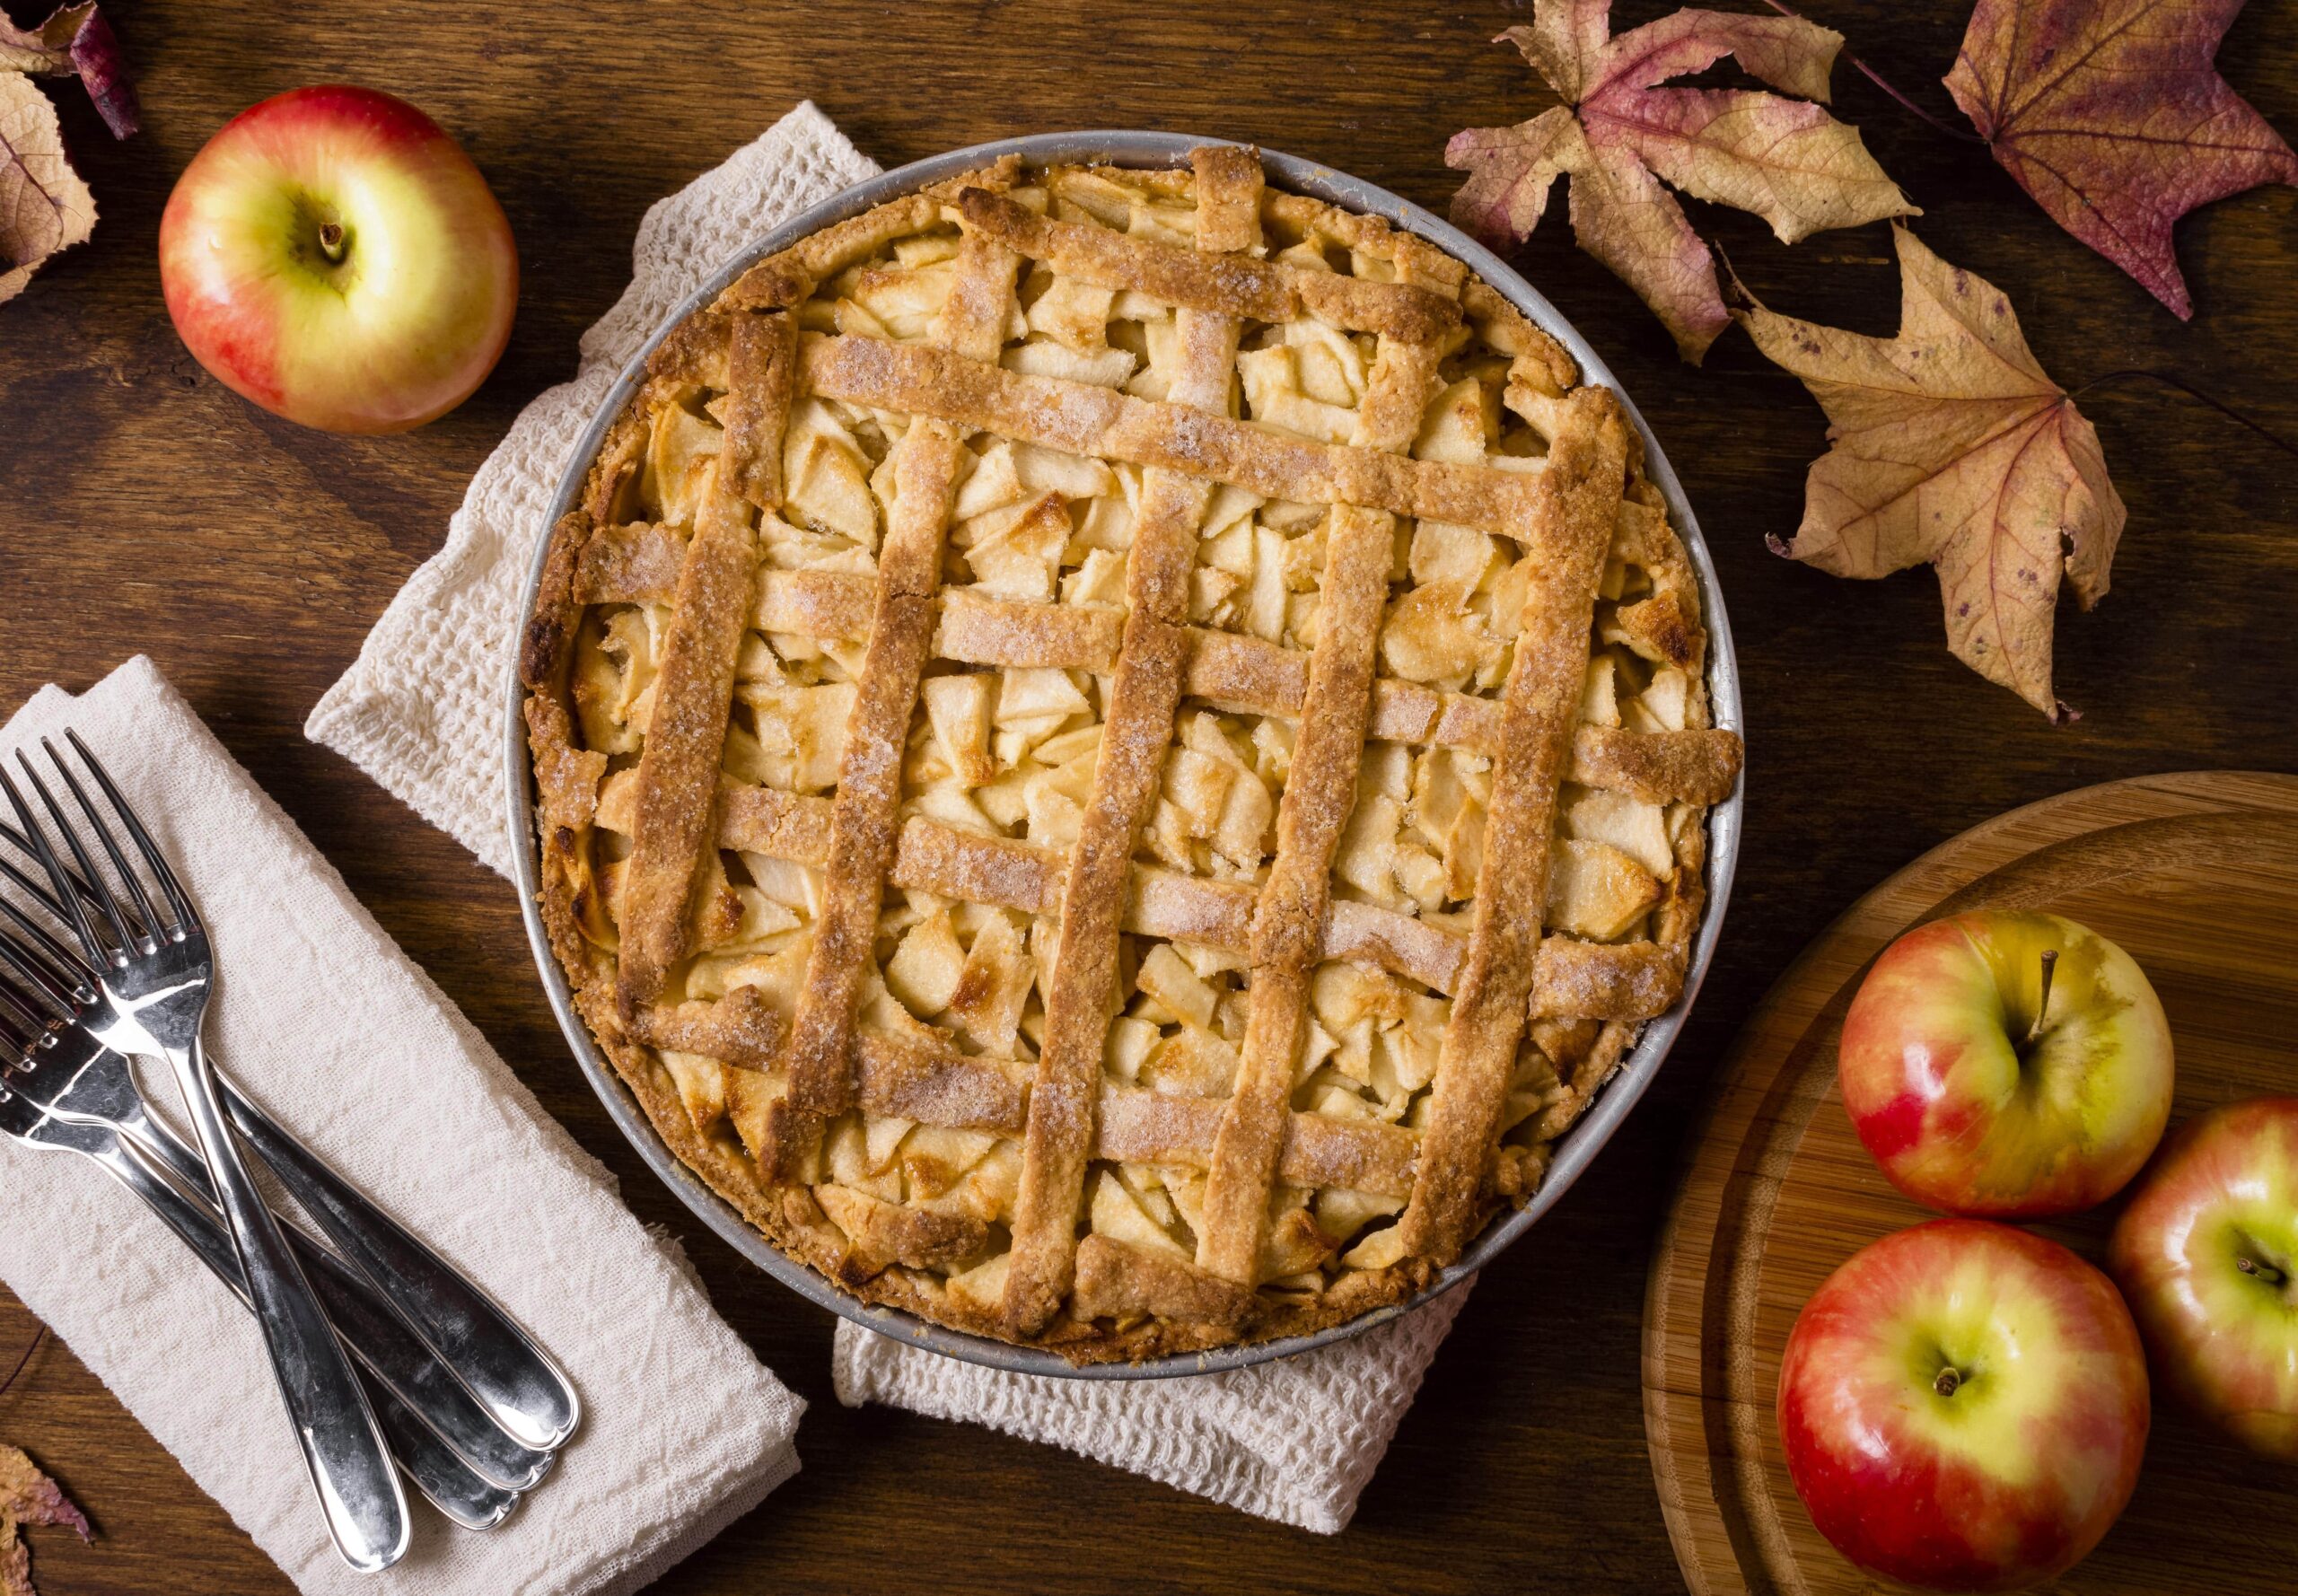
- Add Toppings: You might opt for additional graham cracker crumbs on top, or perhaps a lattice crust, depending on your preference.
- Bake the Pie: Finally, bake the pie until the apples are soft and the crust is a golden brown.
Baking Techniques
Mastering the baking technique is crucial for achieving the perfect Graham Cracker Apple Pie Crust. Let’s break down the process into comprehensive steps, ensuring your pie is baked to perfection.
Baking the Pie
- Preheat Your Oven: Begin by preheating your oven. A temperature around 375°F (190°C) is generally recommended. This ensures the pie cooks evenly.
- Position the Pie: Place your pie in the lower third of the oven. This position allows the bottom crust to get enough heat, becoming nicely crisp.
- Baking Time: The pie usually needs to bake for about 45-55 minutes. However, this can vary depending on your oven and the specific recipe. Keep an eye on it after the 40-minute mark.
- Shielding the Edges: If you notice the edges of your pie crust browning too quickly, gently cover them with aluminum foil. This prevents over-browning while the rest of the pie continues to bake.
- Final Baking Stage: In the last 10-15 minutes, you can remove the foil to allow the edges to achieve a golden hue.
Checking for Doneness
- Visual Cues: The pie is done when the crust is a rich golden brown and the apple filling bubbles at the edges. The bubbling indicates that the apples are cooked and the sugars are caramelizing.
- Testing the Apples: Insert a knife or a fork gently into the filling. The apples should be tender but not mushy. If the knife meets resistance, give it a few more minutes.
- Listening: Yes, listening! A perfect pie will have a subtle sizzling sound coming from the filling. It’s the sound of the juices boiling, a sign that the sugars and apples are at the right temperature.
- Letting It Cool: Once baked, let the pie cool on a wire rack for at least two hours. This patience pays off, as it allows the filling to set, ensuring your slices hold together when served.

Variations and Customizations of Graham Cracker Apple Pie
The beauty of the Graham Cracker Apple Pie Crust lies in its versatility. Let’s explore some creative variations and customizations that can make this classic dessert cater to various tastes and dietary needs.
Variations of the Recipe
- Spice It Up: Don’t hesitate to experiment with spices. A dash of nutmeg or allspice can add a warm, spicy note to the filling. For a bolder twist, a hint of ginger or cardamom can really elevate the flavors.
- Different Toppings: Consider adding a streusel topping made from a mix of flour, butter, and sugar for a delightful crunch. Alternatively, a lattice crust with rolled-out graham cracker dough can add a visually appealing touch.
- Adding Nuts or Dried Fruits: Mixing in chopped walnuts, pecans, or dried cranberries into the apple filling can introduce new textures and flavors.
- Caramel Drizzle: For a decadent finish, drizzle caramel sauce over the baked pie. This pairs wonderfully with the buttery crust and spiced apples.
Customization Tips
- Gluten-Free Options: To accommodate gluten sensitivities, use gluten-free graham crackers for the crust. Ensure that all other ingredients, like baking powder or spices, are also gluten-free.
- Vegan Variations: Substitute the butter in the crust with coconut oil or a vegan butter alternative. For the filling, opt for a vegan butter substitute and ensure any additional toppings are also plant-based.
- Reducing Sugar: If you prefer less sweetness, reduce the amount of sugar in both the crust and the filling. The natural sweetness of the apples can often be enough, especially if you’re using sweeter apple varieties.
- Dairy-Free Adaptations: Use dairy-free butter for the crust and filling. Nowadays, many high-quality dairy-free butters are available that work well in baking.
Serving and Storage
Once your Graham Cracker Apple Pie is baked to its delightful perfection, it’s time to think about the best ways to serve and store it, ensuring every slice is as enjoyable as the first.
Serving Suggestions
- A Classic Touch à la Mode: Serve your pie warm and top it off with a scoop of vanilla ice cream. This classic combination is always a crowd-pleaser, as the cold ice cream melts beautifully into the warm pie.
- Adding Whipped Cream: A dollop of whipped cream on each slice can add a light, creamy texture, perfectly complementing the crunchy crust and soft apple filling.
- Caramel Drizzle for Extra Flair: For an extra touch of sweetness, consider drizzling caramel sauce over the pie. This option is particularly great for special occasions or when you want to impress your guests.
- Traditional with a Twist – Cheddar Cheese: Serving apple pie with a slice of sharp cheddar cheese might seem unconventional, but the blend of flavors is surprisingly harmonious and worth trying.
- Pairing with Beverages: Accompanying a slice of apple pie with a cup of coffee or tea makes for a cozy, satisfying dessert experience, particularly delightful on cool evenings.
Storing the Pie
- In the Fridge: If you find yourself with leftovers, cover the pie with plastic wrap or aluminum foil and refrigerate it. Properly stored, the pie will remain fresh for about 3-4 days.
- Freezing for Later Enjoyment: For long-term storage, wrap the pie tightly in plastic wrap and then in aluminum foil. You can freeze it for up to 2-3 months. When you’re ready to indulge, thaw the pie overnight in the refrigerator and reheat it in the oven to recapture its freshly baked taste and texture.
- Reheating to Perfection: To reheat, simply place the pie in a preheated oven at 350°F (175°C) for about 10 minutes, or until it’s warmed through. This method helps to maintain the crust’s texture and the filling’s flavor.
Common FAQs
When it comes to making a Graham Cracker Apple Pie, several common questions often arise. Let’s address some of these to help you perfect your pie-making skills.
Can I Use a Different Type of Crust for This Recipe?
Yes, you can. While graham cracker crust offers a unique flavor and texture, you can substitute it with a traditional butter crust or even a cookie-based crust. If you’re looking for a gluten-free option, there are gluten-free graham crackers available.
What are the Best Apples to Use in This Pie?
The choice of apples can greatly influence the flavor of your pie. A mix of tart and sweet apples is often recommended. Granny Smith apples are popular for their tartness and firmness, while Honeycrisp and Golden Delicious add a nice sweetness and softer texture.
Can I Make the Pie Ahead of Time?
Absolutely! You can prepare the graham cracker crust ahead of time and store it until you’re ready to add the filling. The assembled pie can also be made a day in advance. Just be sure to store it properly to maintain freshness.
How Do I Prevent the Crust from Getting Soggy?
Pre-baking the crust is key to preventing it from becoming soggy. Additionally, some recipes recommend brushing the crust with egg to create a barrier between the crust and the filling.
Can I Freeze the Apple Pie?
Yes, apple pie freezes well. Wrap the cooled pie in plastic wrap and aluminum foil before freezing. It can be stored in the freezer for up to 2-3 months. Thaw in the refrigerator and reheat in the oven for the best results.
Is it Necessary to Peel the Apples?
Peeling the apples is generally recommended to ensure a smooth texture in the filling. However, if you prefer a more rustic pie, you can leave the peel on. Just make sure to slice the apples thinly.
Conclusion
As we wrap up our exploration of the Graham Cracker Apple Pie, let’s revisit the key highlights of this delightful baking adventure.
Firstly, we embraced the uniqueness of the graham cracker crust, a sweet and crunchy base that sets this apple pie apart from its traditional counterparts. We learned that the choice of graham crackers, be it honey-flavored or cinnamon-spiced, can significantly impact the pie’s overall flavor.
In preparing the apples, we recognized the importance of mixing different apple varieties. A blend of tart Granny Smith and sweet Honeycrisp apples, for instance, creates a well-balanced filling, both in flavor and texture.
Our journey took us through the essential steps of assembling the pie, highlighting the significance of pre-baking the crust to avoid sogginess, and sharing tips for achieving that perfectly baked pie with a golden-brown crust and bubbling apple filling.
We explored variations and customizations, making this recipe adaptable for various dietary needs, including gluten-free and vegan options, and adding personal touches like nuts, dried fruits, or a caramel drizzle.
In terms of serving and storage, we discovered creative ways to enhance the pie’s presentation, such as serving it à la mode or with whipped cream, and learned the best practices for storing and reheating to maintain its freshness and flavor.
Lastly, we addressed common FAQs, providing solutions and tips to ensure your pie-making experience is as enjoyable and successful as possible.