
As the joyous whispers of Passover fill the air, I find myself reaching for a recipe that perfectly embodies the spirit of celebration—Passover Kichel, commonly known as bow tie cookies or “nothings.” These delightful, airy treats are more than just cookies; they evoke nostalgia and bring warmth to any festive table, whether enjoyed alongside a cup of tea or during lively family gatherings.
One magical afternoon, while chatting with my grandmother, she revealed the secrets to crafting these cookies. The simple blend of eggs, matzo meal, and a sprinkle of sugar came alive in our kitchen, filling it with the sweet aroma of baked goodness. It’s incredible to think how such a straightforward recipe can yield something so light, crunchy, and utterly addictive!
What makes this Passover Kichel truly special is its versatility, effortlessly embracing both sweet and savory flavor profiles. Plus, with gluten-free options available, everyone can join in the fun. Grab your apron and let’s create these bite-sized wonders that will leave your guests craving more!

Why is Passover Kichel a Must-Try?
Simplicity at its finest: This recipe requires minimal ingredients and steps, making it perfect for both novice bakers and seasoned chefs.
Delightfully light: The airy texture of these cookies makes them addictive, perfect for munching on during Passover celebrations.
Versatile flavors: Enjoy them as a sweet treat or dress them up with spices for a savory twist.
Gluten-free options: Easily adaptable, everyone can enjoy these delicious cookies regardless of dietary restrictions.
Crowd-pleaser: With their delightful crunch and sweet coating, these kichel are sure to be a hit at any gathering!
Passover Kichel Ingredients
• Here’s what you’ll need to make these delightful cookies.
For the Dough
- 3 large eggs – Ensure they’re at room temperature for better emulsification and structure.
- 1 large egg yolk – Enhances the richness and color of the kichel.
- 2 teaspoons sugar – Sweetens the egg mixture and aids in achieving that meringue-like texture.
- 108 grams vegetable oil (½ cup) – Adds moisture and tenderness; consider using a kosher-for-Passover liquor for a flavor twist.
- 2 teaspoons vanilla extract – Adds a lovely flavor; substitute with vanilla bean seeds or a flavored liquor if you wish.
- 84 grams matzo cake meal (¼ cup) – The primary dry ingredient providing structure; can be swapped with gluten-free matzo meal.
- 36 grams potato starch (3 tablespoons) – Crucial for a light texture; gluten-free options work well here.
- 150 grams sugar, divided (¾ cup) – Used for coating the kichel, giving it that irresistible sweet finish.
Enjoy crafting this Passover Kichel recipe that will make your holiday celebrations even sweeter!
How to Make Passover Kichel
-
Preheat your oven to 350°F (175°C) and line two baking sheets with parchment paper for easy cleanup. A hot oven ensures the kichel cook evenly!
-
Beat the eggs and egg yolk with sugar in a mixer on high for 10 minutes until pale and frothy. This step creates the airy structure that makes your cookies so light!
-
Whisk together the matzo cake meal and potato starch in a separate bowl until well combined. This adds a nice texture and structure to your kichel.
-
Mix the oil and vanilla into the egg mixture gradually until fully combined. Ensure there’s no visible oil; this helps with emulsification, resulting in perfect dough!
-
Combine the dry ingredients with the wet mixture, stirring just until fully incorporated. Your dough should feel slightly wet, but not sticky—perfect for rolling!
-
Spread sugar on your parchment paper or kitchen surface, transfer the dough, and sprinkle more sugar on top. Roll to ½ inch thick, forming a rectangle about 7×12 inches.
-
Cut the dough into 1×2 inch rectangles, twisting each one to create that iconic kichel shape. They’ll be beautiful and fun to eat!
-
Place the twisted kichel onto the prepared baking sheets, leaving about 2 inches of space between each cookie. This gives them room to puff up!
-
Bake for 45-50 minutes, checking at 20 and 30 minutes until they are a deep golden brown. Let them cool completely for the best crunch!
Optional: Dust with additional sugar before serving for a touch of extra sweetness!
Exact quantities are listed in the recipe card below.
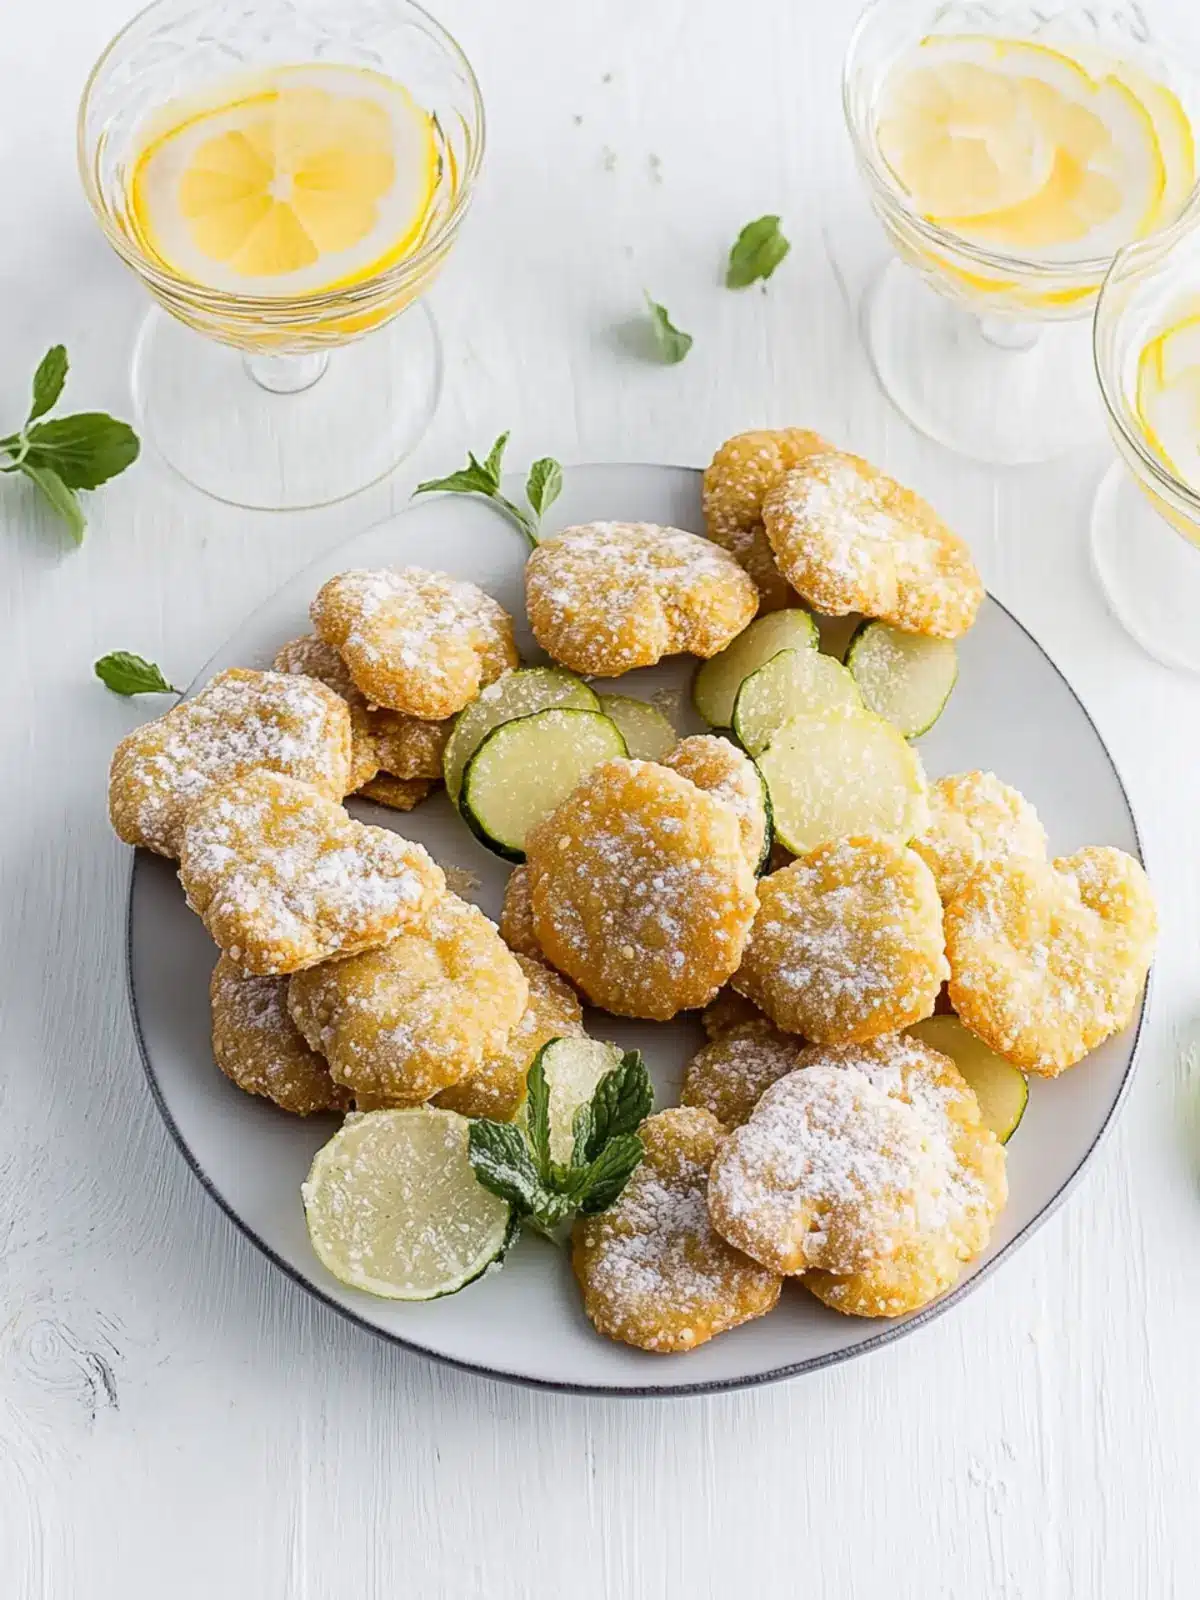
What to Serve with Passover Kichel?
Imagine a table filled with vibrant flavors and comforting aromas, where every bite tells a story of tradition and love.
- Fresh Fruit Platter: Seasonal fruits provide a sweet contrast, offering a refreshing burst of flavor to complement the kichel.
- Herbed Cream Cheese Dip: This creamy dip, rich with herbs, adds a flavorful, savory component that pairs beautifully with the cookies’ sweetness.
- Tea and Coffee: A warm cup of herbal tea or strong coffee creates a comforting atmosphere, making the perfect companion for these light treats.
- Chocolate-Covered Almonds: Delightfully crunchy and sweet, these almonds add a rich chocolatey note, balancing the airy texture of the cookies perfectly.
- Savory Cheese Board: A selection of mild cheeses provides a wonderful balance between sweet and savory, enhancing the delightful eating experience.
- Miniature Cheesecakes: These bite-sized desserts keep the festive feel alive, offering another sweet option that complements the lightness of the kichel.
- Passover Wine: A glass of sweet or sparkling Passover wine elevates your dessert experience, celebrating the occasion with a traditional touch.
- Seasonal Vegetable Crudités: Crisp vegetables served with a light dip offer a crunchy, fresh contrast to the kichel, keeping the palette balanced.
- Honey Drizzle: A touch of honey over the cookies adds an extra layer of sweetness, enhancing their sugary coating and making them irresistible.
Expert Tips for Passover Kichel
-
Egg Temperature Matters: Use room temperature eggs for better emulsification, which enhances the structure and lightness of your Passover Kichel.
-
Don’t Rush the Beating: Beat the egg mixture for a full 10 minutes; this step is crucial for achieving that frothy texture which results in airy cookies.
-
Check for Doneness: Look for a deep golden brown color and a crunchy texture throughout. Undercooking will lead to a soggy kichel.
-
Sugar Coating: For a sweeter crust, coat the dough well with sugar before rolling. This creates an irresistible sugary finish that elevates the flavor!
-
Explore Flavors: Feel free to experiment with spices like cinnamon in your dough for a unique twist. They’re great for both sweet and savory variations!
Passover Kichel Variations
Feel free to get creative with this delightful recipe and put your own spin on these airy cookies that are sure to delight!
-
Gluten-Free: Substitute matzo cake meal with gluten-free matzo meal and ensure other ingredients are certified gluten-free.
-
Creamy Vanilla: Swap vanilla extract for the seeds of one vanilla bean for an intensified, aromatic flavor explosion.
-
Citrus Zest: Add the zest of one lemon or orange to the dough for a bright, refreshing citrus twist—perfect for spring festivities.
-
Spicy Touch: Include a pinch of cinnamon or nutmeg in the dough for a warm spice that perfectly complements the sweetness.
-
Herbal Infusion: Add finely chopped herbs like rosemary or thyme for a savory twist, making these cookies versatile for appetizers.
-
Exotic Flavor: Substitute vegetable oil with coconut oil or a flavored olive oil for a subtle, aromatic depth in the kichel.
-
Nutty Crunch: Fold in some finely chopped nuts, like almonds or walnuts, into the dough for delightful texture and added richness.
-
Sweet Heat: Drizzle with a spicy honey glaze after baking for a unique sweet-and-spicy kick that surprises with every bite.
Storage Tips for Passover Kichel
- Room Temperature: Store kichel in an airtight container for up to 3 days to maintain their crunch. Keep them away from moisture for best results.
- Fridge: If you live in a warmer climate, you may refrigerate them for up to a week. However, note that refrigeration may soften the crispy texture.
- Freezer: For longer storage, freeze kichel in a sealed bag or container for up to 3 months. When ready to enjoy, thaw at room temperature or warm briefly in the oven for freshness.
- Reheating: To restore their crunch, reheat frozen or refrigerated kichel in a preheated oven at 350°F (175°C) for about 5-10 minutes before serving.
Make Ahead Options
These delightful Passover Kichel are perfect for meal prep enthusiasts seeking to save time during the busy holiday season! You can prepare the dough up to 24 hours in advance; simply mix it, wrap it tightly in plastic wrap, and refrigerate to ensure it stays fresh and ready to use. For an even quicker option, cut the twisted kichel shapes ahead of time and store them in an airtight container lined with parchment paper for up to 3 days. When you’re ready to bake, simply place them on prepared baking sheets and enjoy fresh cookies, just as crunchy and delicious as if made on the spot! These make-ahead tips guarantee that your Passover Kichel will be a hit, allowing you more time to enjoy your celebrations.

Passover Kichel Recipe FAQs
What type of eggs should I use for Passover Kichel?
It’s best to use large eggs at room temperature for the perfect emulsification and airy structure. Room temperature eggs incorporate better into the mixture, helping the kichel rise beautifully.
How should I store my Passover Kichel?
Store your kichel in an airtight container at room temperature for up to 3 days for maximum crunch. If the weather is particularly warm and humid, consider refrigerating them, but be aware that this may soften their delightful crunch.
Can I freeze Passover Kichel?
Absolutely! To freeze, place the kichel in a sealed bag or container, and they will keep well for up to 3 months. When you’re ready to enjoy them, thaw at room temperature, or pop them in a preheated oven at 350°F (175°C) for 5-10 minutes to restore their crispiness.
What if my Passover Kichel are not crunchy enough?
If your kichel aren’t crunchy, they might not have been baked long enough. Ensure they reach a deep golden brown color, and try checking the texture at intervals—if they’re still soft, return them to the oven for a little longer to get that perfect crunch!
Are there any dietary considerations for Passover Kichel?
Yes, you can make Passover Kichel gluten-free by substituting matzo cake meal with gluten-free matzo meal. This ensures that everyone can enjoy these treats, even those with gluten sensitivities. Always double-check other ingredients for kosher status during Passover to meet dietary needs.
Can I add flavors or additional ingredients to my Passover Kichel?
The more the merrier! Feel free to experiment with flavors by adding spices like cinnamon or nutmeg to the dough, or even a splash of flavored liquor as a vanilla substitute. This can elevate your kichel and make them uniquely yours!

Delicious Passover Kichel: Effortless Bow Tie Cookies You’ll Love
Ingredients
Equipment
Method
- Preheat your oven to 350°F (175°C) and line two baking sheets with parchment paper for easy cleanup. A hot oven ensures the kichel cook evenly!
- Beat the eggs and egg yolk with sugar in a mixer on high for 10 minutes until pale and frothy. This step creates the airy structure that makes your cookies so light!
- Whisk together the matzo cake meal and potato starch in a separate bowl until well combined. This adds a nice texture and structure to your kichel.
- Mix the oil and vanilla into the egg mixture gradually until fully combined. Ensure there’s no visible oil; this helps with emulsification, resulting in perfect dough!
- Combine the dry ingredients with the wet mixture, stirring just until fully incorporated. Your dough should feel slightly wet, but not sticky—perfect for rolling!
- Spread sugar on your parchment paper or kitchen surface, transfer the dough, and sprinkle more sugar on top. Roll to ½ inch thick, forming a rectangle about 7x12 inches.
- Cut the dough into 1x2 inch rectangles, twisting each one to create that iconic kichel shape. They’ll be beautiful and fun to eat!
- Place the twisted kichel onto the prepared baking sheets, leaving about 2 inches of space between each cookie. This gives them room to puff up!
- Bake for 45-50 minutes, checking at 20 and 30 minutes until they are a deep golden brown. Let them cool completely for the best crunch!
- Optional: Dust with additional sugar before serving for a touch of extra sweetness!